
Solidarity Projects: Step-by-Step Guide
Solidarity Projects are youth-led initiatives that bring young people together to address challenges in their local communities. Supported by the European Solidarity Corps, these projects give you the opportunity to make a real difference while developing valuable skills in teamwork, leadership, and project management. Whether you want to tackle social exclusion, environmental issues, or create new opportunities for young people in your area, a Solidarity Project lets you turn your ideas into action.
Each project involves a team of at least five young people who plan and carry out activities that address real community needs — with guidance, resources, and funding provided throughout the process.
Watch this short video to understand the basics of Solidarity Projects:
After watching, explore this guide to learn how to plan, execute, and complete your own project successfully!

Project Timeline
This project timeline example can help you have a better idea of what is in front of you. In this guide, we’ll focus mostly on the Planning phase, as you’ll receive more tools and support as the project progresses.
Download PDF version
Planning Phase
- Define project goals, aims, and objectives
- Build up your core group of 5 youth
- Write the application
- Draft initial schedule and budget
Implementation Phase
- Implement project according to plan
- Adapt as needed based on progress
- Document all activities and results
Closing Phase
- Complete final report
- Thank all partners and participants
- Celebrate successes and lessons learned

Step 1: Planning Phase
1.1: Goals, Aims, and Objectives
Keeping in mind that your project must address a societal issue affecting youth and that you have chosen a feasible method given your resources, it’s time to define it in more concrete terms.
It is crucial to focus on the following aspects right from the start:
- Goal: ”So that…” (e.g., ”So that youth feel safer in schools”)
- Aims: Use change-oriented verbs (e.g., reduce, increase)
- Objectives: Action verbs (e.g., organize workshops, survey 100 students)
1.2: Building Your Core Team
Remember that the application requires a team of minimum 5 young people who will work together to bring your idea to life. When building your core group:
- Look for diverse skills (organization, creativity, communication)
- Ensure shared commitment to the project’s goals
- Define clear roles and time commitments for each team member
- Establish regular meeting times to track progress
- Create a supportive environment where everyone feels valued
Remember: Your team should represent different perspectives but share the same vision for positive change.
1.3: Writing the Application
The application is your chance to clearly communicate your project idea to the European Solidarity Corps. Make sure to:
- Follow the guidelines carefully and answer all questions
- Be specific about what you want to achieve and how
- Show the need for your project in your community
- Be practical and concrete with a realistic plan
- Highlight your team’s motivation and capabilities
- If you can, include a simple budget that matches your activities
- Proofread carefully before submitting
Tip: Use the questions from Step 0.1 to structure your application and make it compelling. Don’t make it more complicated than it needs to be; try to be simple and get to the point of what you want to do and why.
1.4: Drafting Schedule and Budget
A simple schedule and budget are essential for a successful project. When creating these:
For the schedule:
- Break down your project into clear phases
- Set realistic timelines for each activity
- Try to over-estimate timelines to account for unexpected delays
- Mark important milestones and deadlines
For the budget:
- Try to gauge your expenses and break them down into categories (e.g., materials, venue, transportation)
- Include a small contingency (5-10%) for unexpected costs
- Make sure that the costs match your activities
Tip: It doesn’t need to be super detailed. The budget is mostly a tool for you, but it is really important to help you ground the project and realize what the possibilities are.

Step 2: Implementation Phase
2.1: Putting Your Plan into Action
Now that your project is approved, it’s time to put your plan into action. This is where you’ll see your ideas come to life and make a real difference in your community.
2.2: Key Aspects of Execution
- Stay organized by following your schedule but remain flexible to adapt when needed
- Maintain open communication within your team and with partners
- Document your activities through photos, notes, and participant feedback
2.3: Tips for Successful Execution
- Hold regular check-ins with your team to track progress and address challenges
- Be prepared to adapt – things might not always go as planned, and that’s okay
- Keep your goals in mind – when faced with decisions, ask ”Does this help us achieve our objectives?”
- Document everything – this will be valuable for your final report and future projects
Remember: The execution phase is often the most rewarding part as you see your project making an impact!

Step 3: Closing Phase
3.1: Wrapping Up Your Activities
As your project comes to an end, it’s important to properly wrap up your activities and reflect on what you’ve accomplished.
3.2: Key Closure Activities
- Complete your final report to share what you’ve learned and achieved
- Take time to celebrate your successes and acknowledge everyone’s contributions
- Reflect on what worked well and what could be improved for future projects
3.3: Tips for Effective Closure
- Gather feedback from participants and partners while the experience is still fresh
- Create a simple summary of your project’s impact to share with others
- Celebrate your achievements – this helps maintain motivation and recognizes everyone’s hard work
- Say thank you to all who contributed – a small gesture goes a long way
Tip: The closure phase isn’t just paperwork – it’s an opportunity to recognize how much you’ve grown and what you’ve learned throughout the project.

Project Examples
Safe After-School Activities in Järva
The goal is to create safer leisure time for young people in Järva. The Järva area is a vulnerable area, and many young people do not feel safe due to gang crime, poverty, mental health issues, and the feeling of exclusion from the rest of society. There is a lack of space for young people to create community and grow as individuals with opportunities and faith in the future. The project therefore uses excursions, sports and games, fun leisure activities that the young people themselves want to do, along with workshops and visits from role models who can inspire them about issues such as career opportunities and the EU’s many opportunities for young people.

Solidarity Soup
The project, at its core, has two fundamental goals: to bring together youth from different cultural and religious backgrounds and to create something valuable for the community that supports its more vulnerable members. With this project, we also want to bring positivity to the community by sharing with youth the joy of cooking and serving food together while showing solidarity and comforting persons in need, especially through the tough and cold winter period. This will also create new opportunities for people to meet across religious, cultural, and socioeconomic barriers.
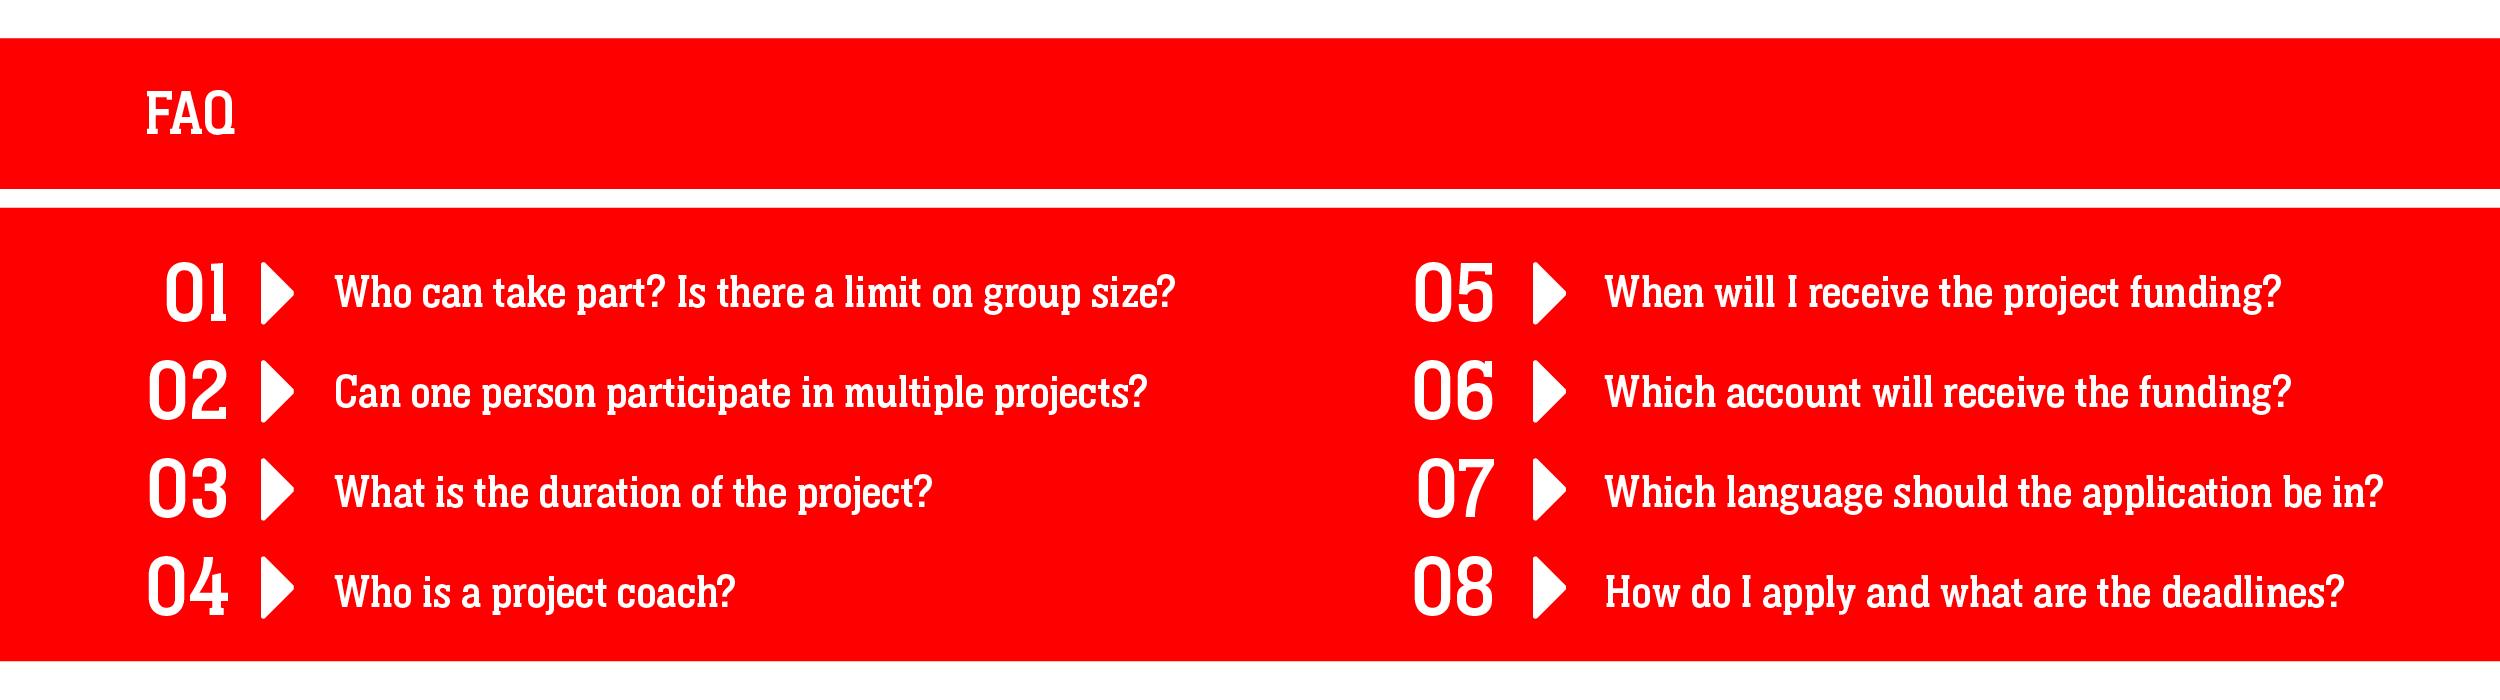
FAQ
1. Who can take part? Is there a limit on group size?
Young people aged 18–30. Groups must have at least 5 members from the same country. There is no maximum group size.
2. Can one person participate in multiple projects?
There are no limits. However, it’s recommended not to participate in multiple projects at the same time.
3. What is the duration of the project?
It can last between 2 and 12 months.
4. Who is a project coach?
A coach is an optional mentor who guides young people in the project, without handling finances. External coaches can be requested in the application, with funding of 214 €/day for up to 12 days. Multiple coaches are allowed, but the total support per group cannot exceed 12 days.
5. When will I receive the project funding?
80% is paid at the start of the project. 20% is paid 60 days after the final report is approved.
6. Which account will receive the funding?
Funding can be paid to an organization’s account or to an individual. If your group has no registered association or joint account, choose one member to receive the support. Individual recipients may need to report the support if they receive student aid or other support.
7. In which language should I fill in the application form?
You can fill in the form in Swedish, or English. Clearly explain your project and why it matters to you.
8. How do I apply? What are the deadlines?
Step 1: Form your group.
Step 2: Register with the European Solidarity Corps. All group members must join the European Solidarity Corps.
Step 3: Get an Organisation ID (OID). One member acts as group leader to register for an OID, by creating an account with the European Commission. If an organisation applies on your behalf, they may already have an OID. As soon as you’re registered and waiting for your OID to be approved, you can continue with the next steps.
Step 4: Prepare your project. Structure your ideas including goals, activities, expected results, budget, and group members.
Step 5: Submit your application using the ESC30 Solidarity Projects online form.
All deadlines and key dates are available on the MUSF official site.

Links
- European Solidarity Corps portal
- Information about Solidarity Projects in the European Solidarity Corps guide
- Relevant pages on your National Agency website (you can also reach out to your National Agency for help with your application)
